Industrial Safety Equipment & MRO Supplies | Shanghai Fangxi Industries Group


Products
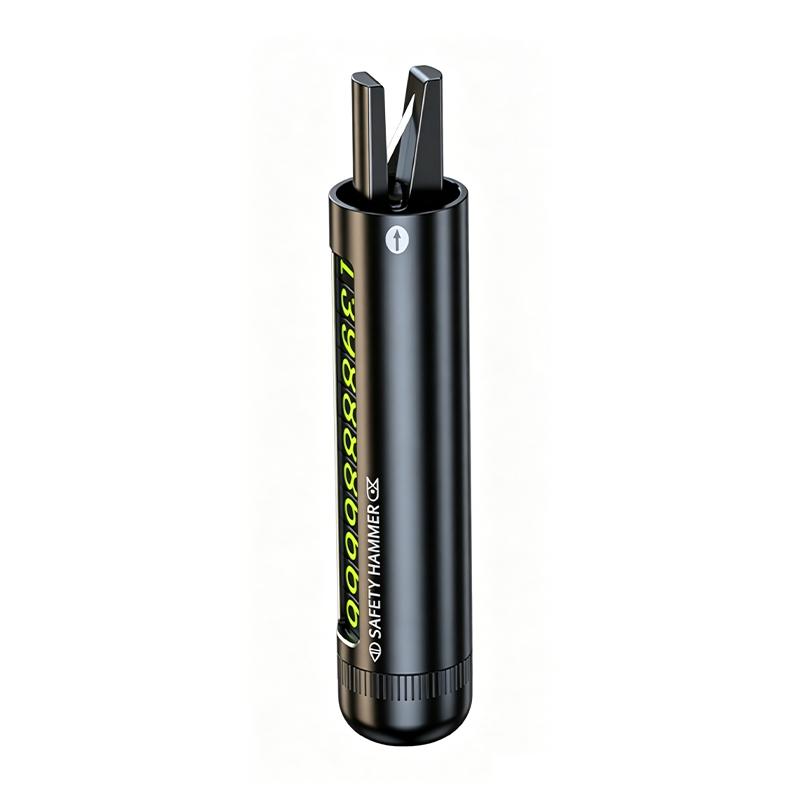
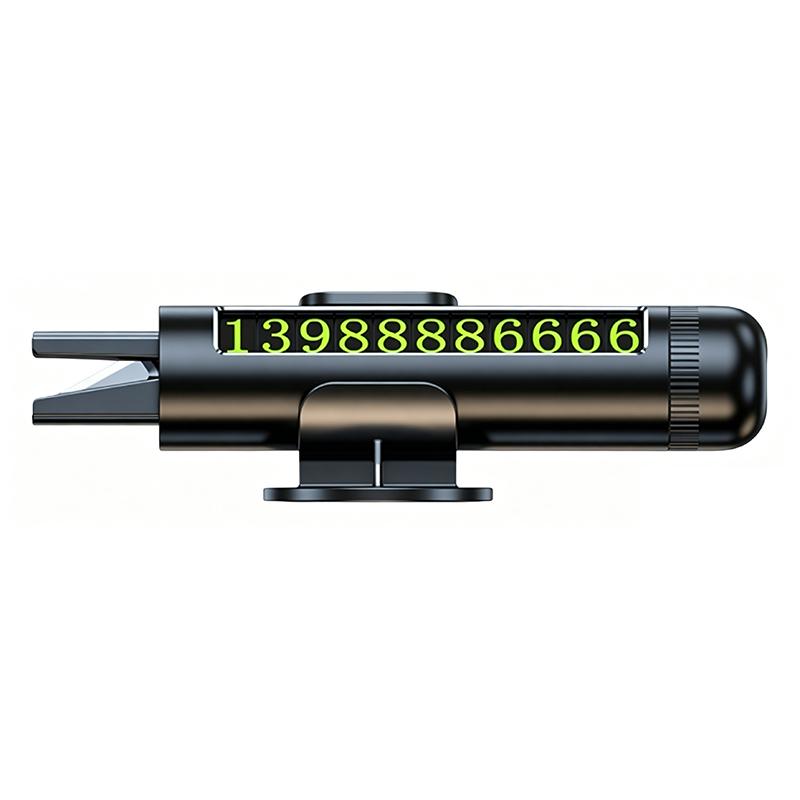
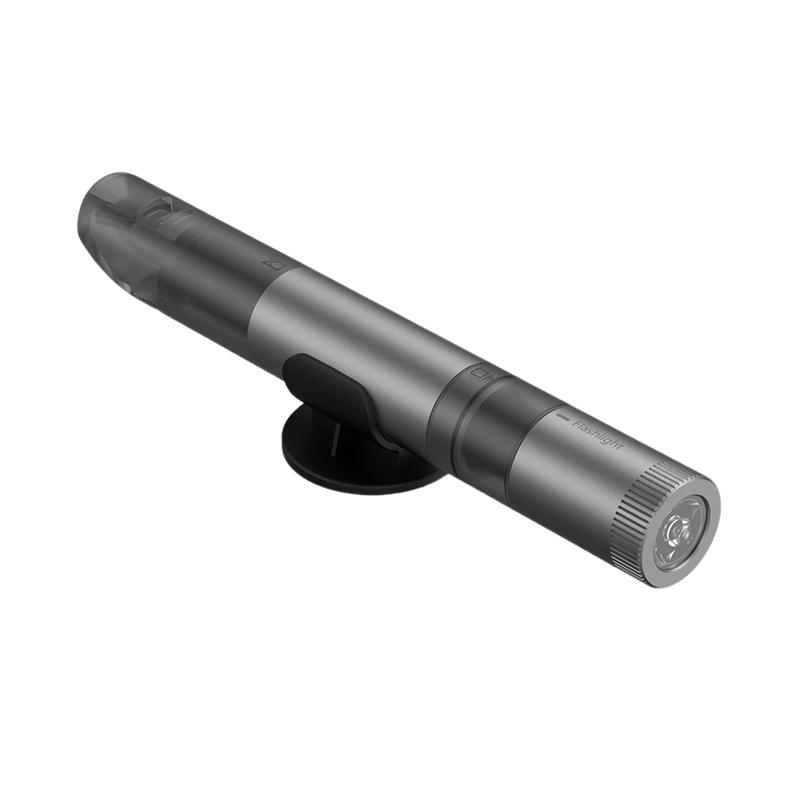
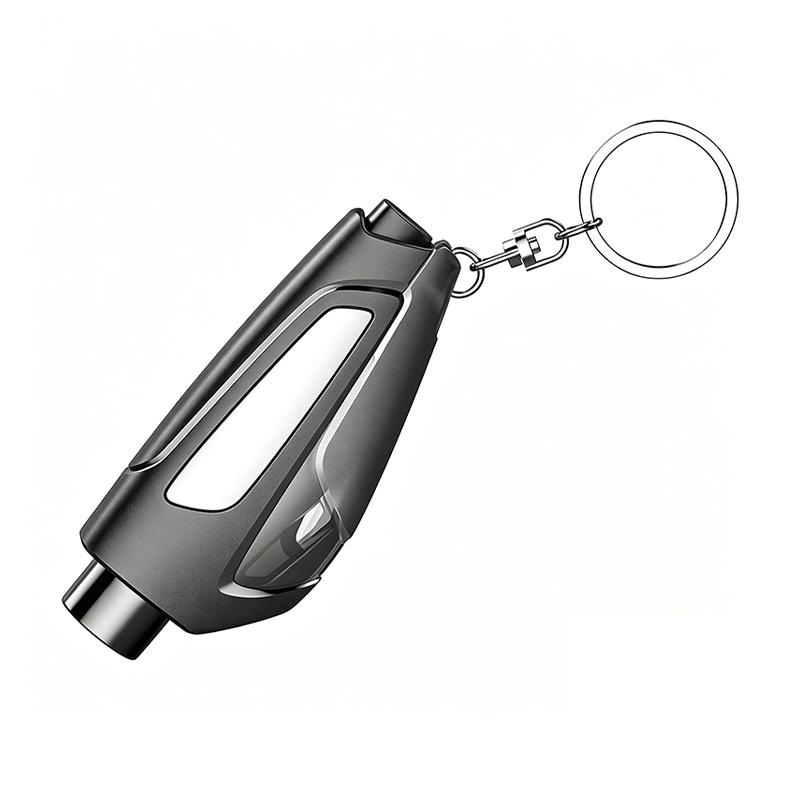
Parking Sign Window Breaker – 3-in-1 Car Safety Hammer & Seatbelt Cutter
Product Code: 01239
Description
Parking Sign Window Breaker
Break the window in one second — escape instantly
Aviation-grade alloy
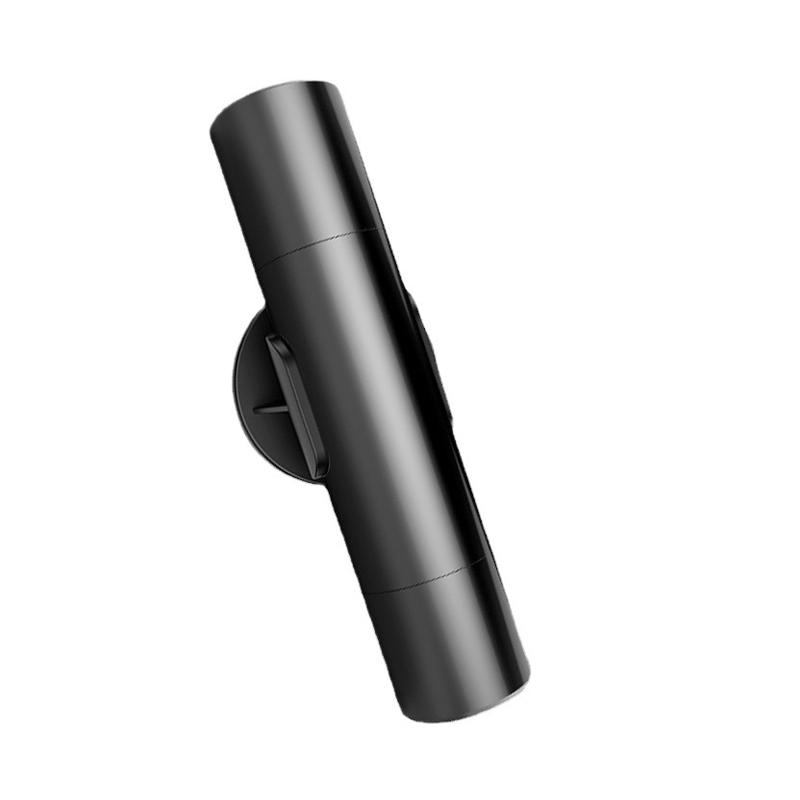
Storage base
Easy window breaking & safe cutting
Break the window easily in one second
Cut the seatbelt in seconds
Aviation-grade alloy material
Residue-free adhesive — protects your car
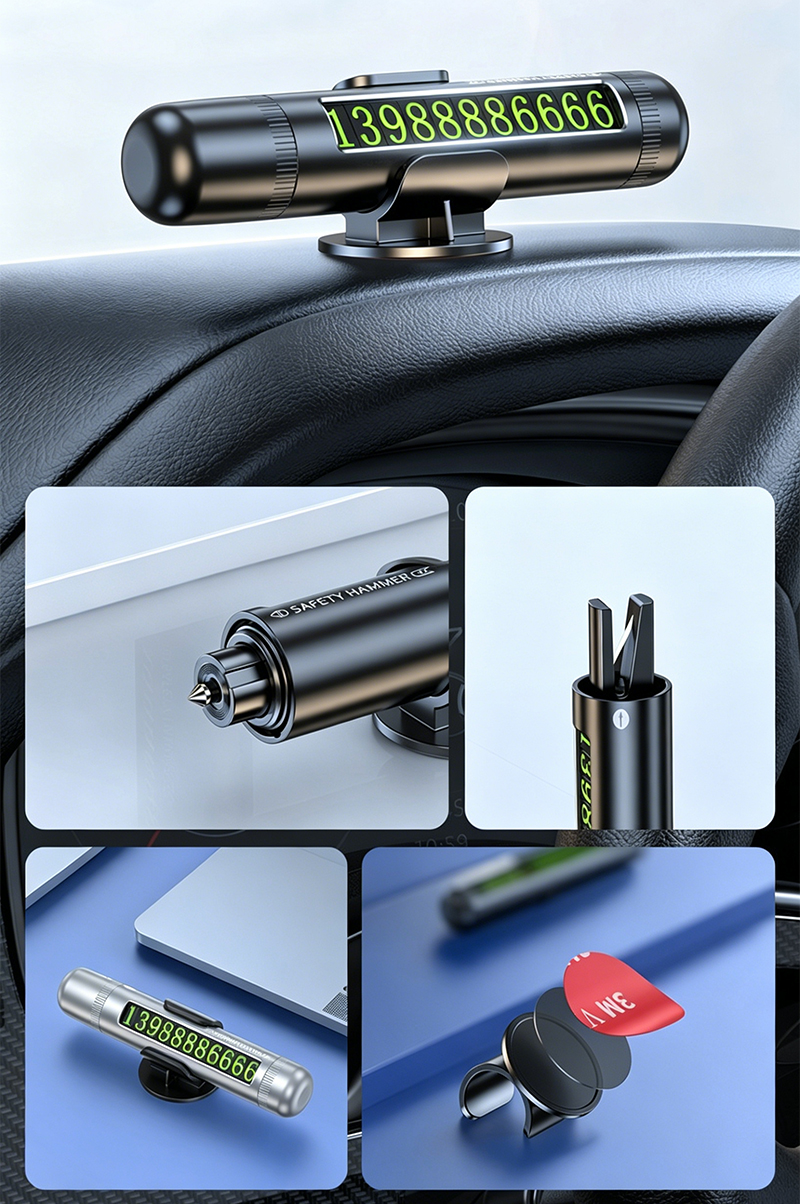
Your life-saving tool in dangerous moments
Parking sign + Safety hammer + Safety cutter
Dedicated window breaking hammer + seatbelt cutter — better safe than sorry in dangerous moments
Safety Cutter
Cuts through jammed seatbelts
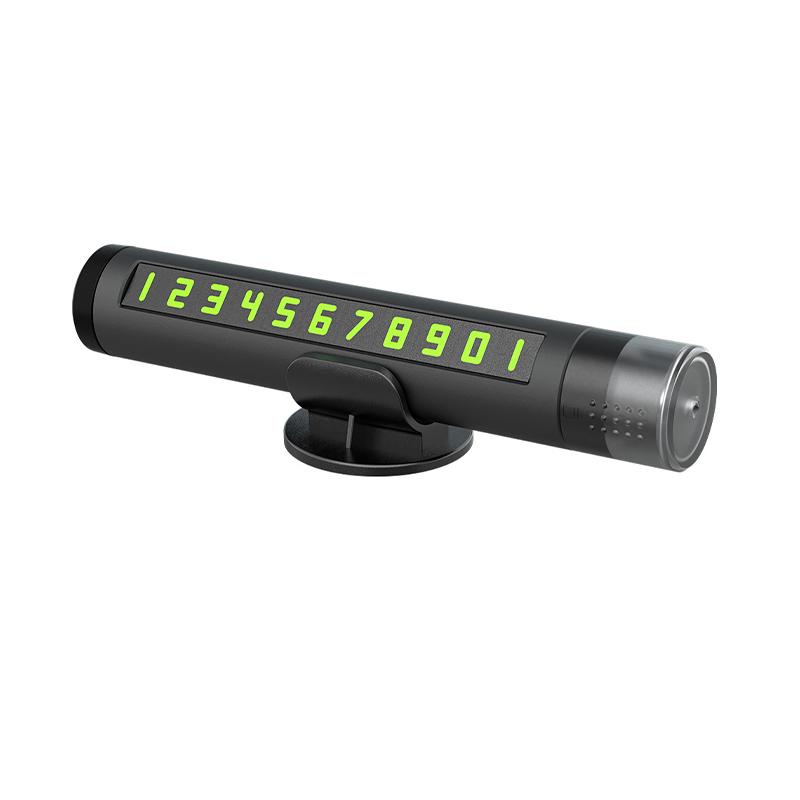
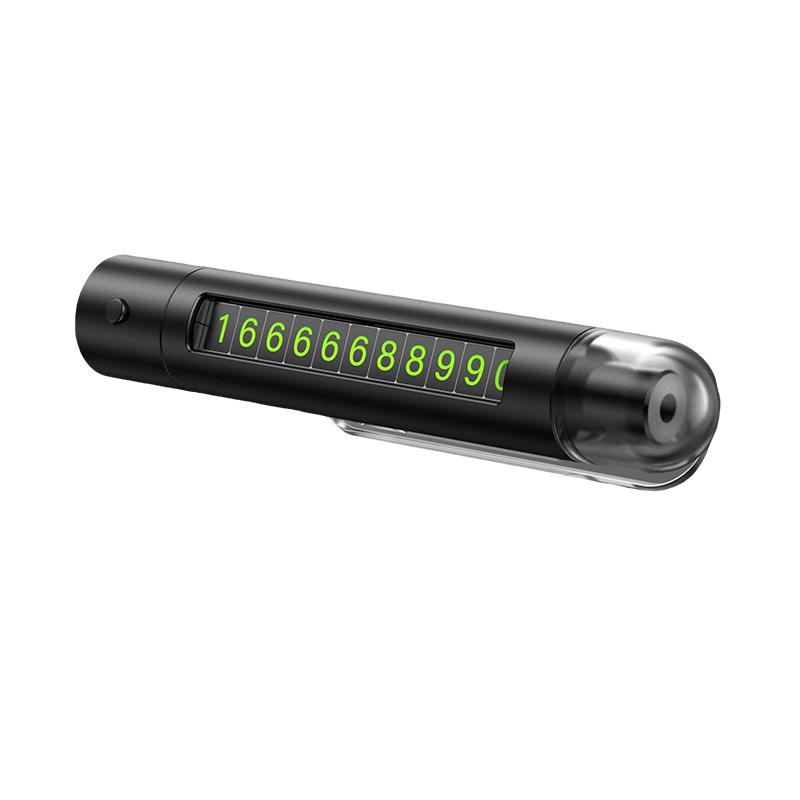
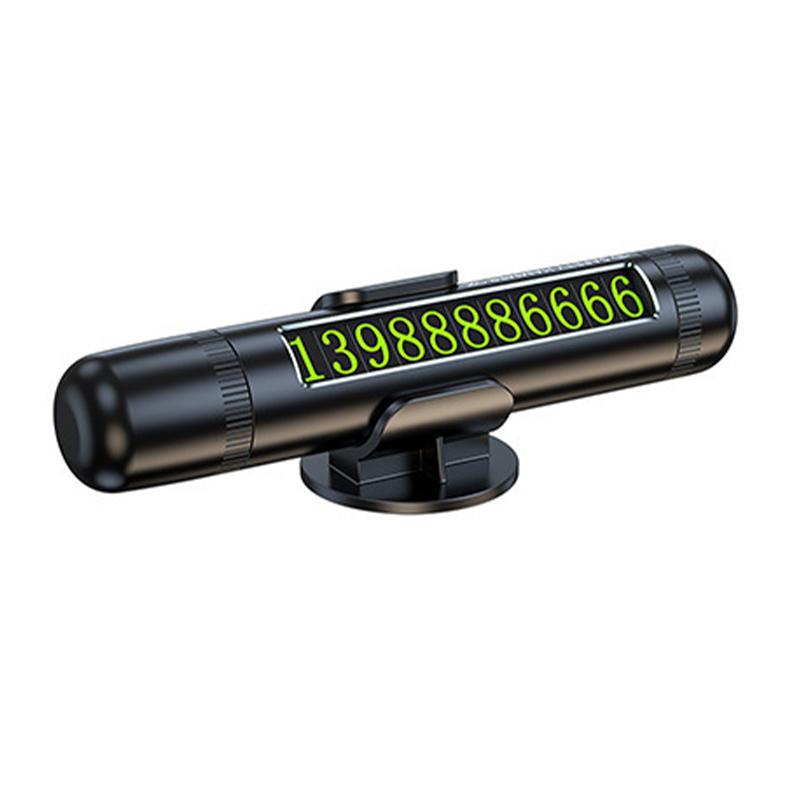
Temporary Parking Sign
Easily contactable when temporarily parked
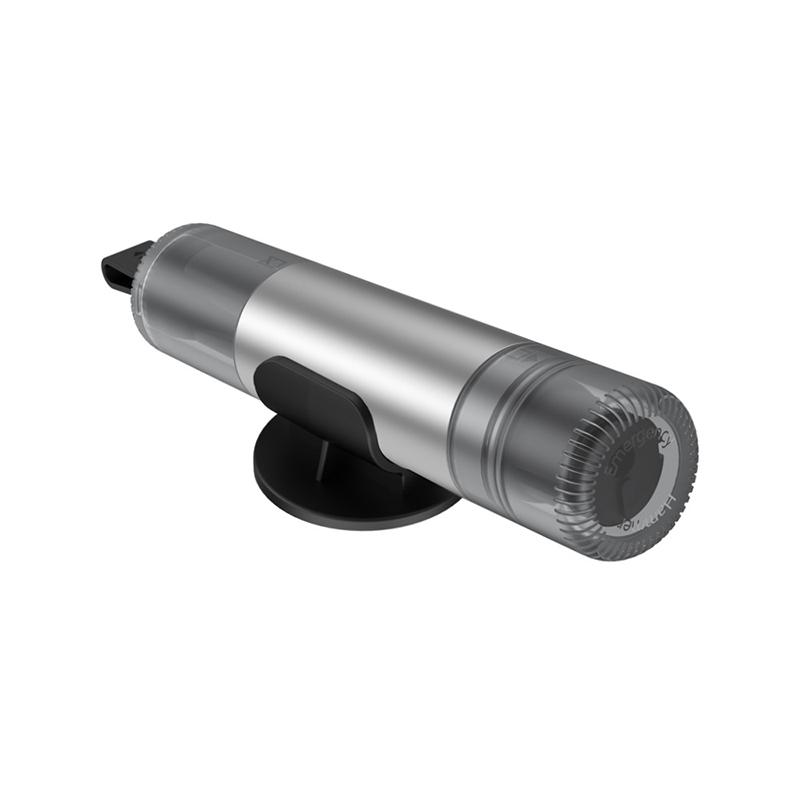
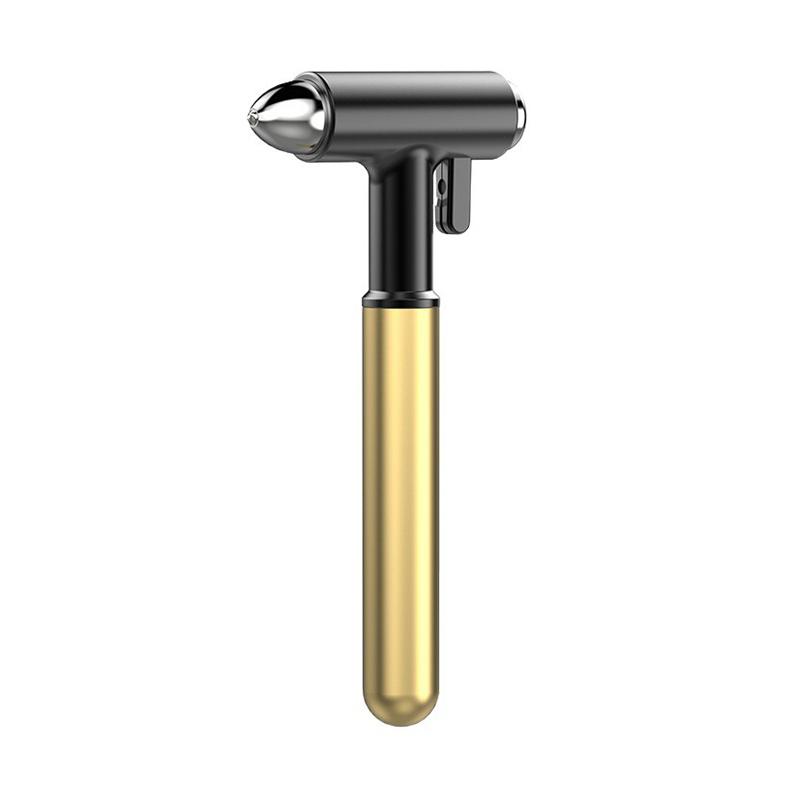
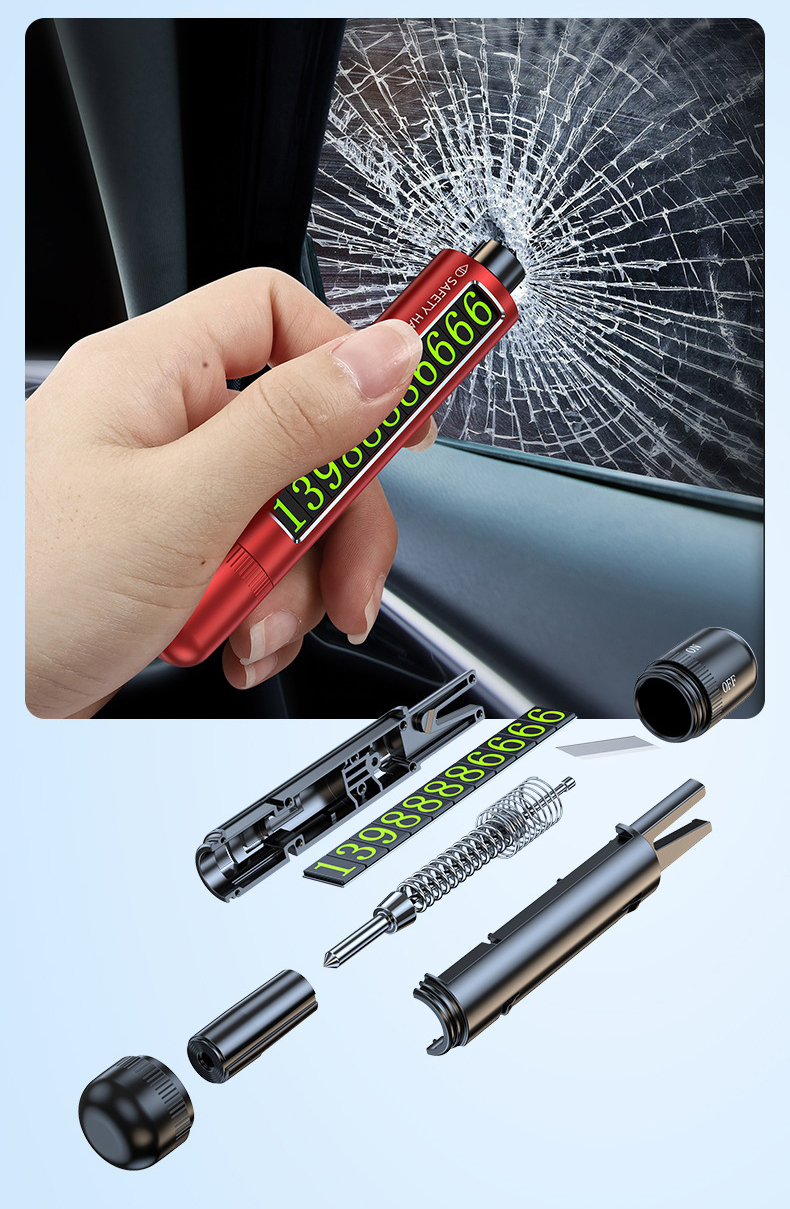
Window Breaker Hammer
Can break all car windows
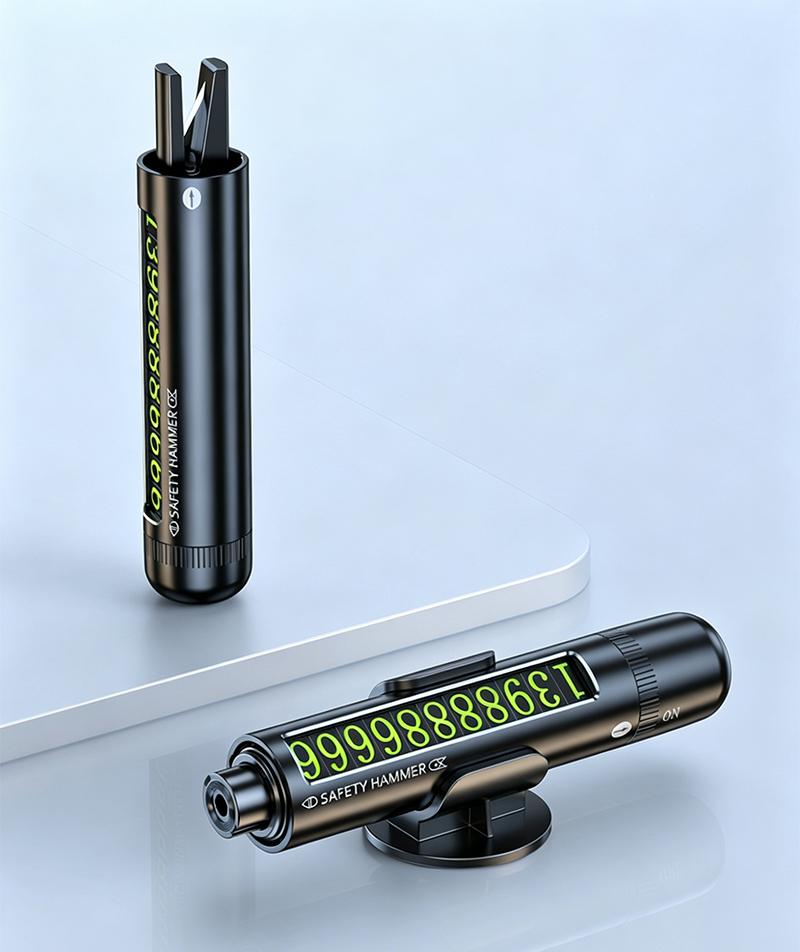
Gun-type spring — effortless window breaking. Tungsten steel tip — reusable.
Tungsten steel achieves a Rockwell hardness of 65, easily cutting through metal and glass. The gun-type working principle gives this compact tool tremendous striking power for instant shattering.
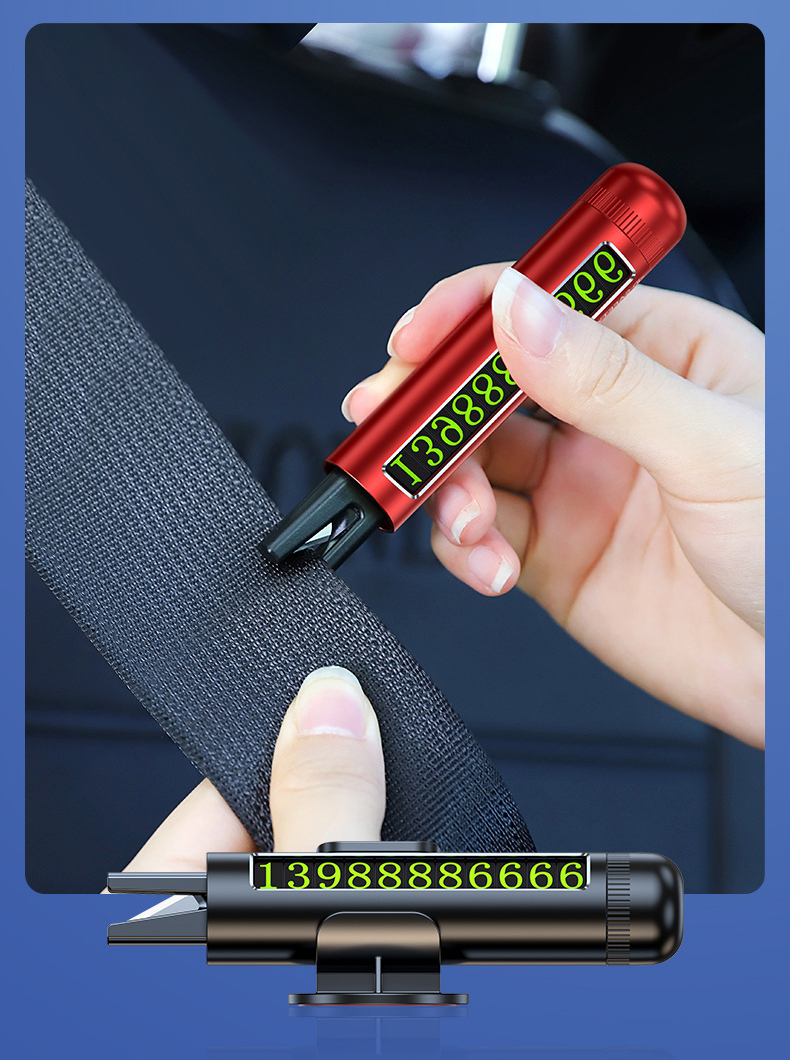
Cut the seatbelt in seconds — escape without obstacles
Built-in stainless steel cutter — quickly cuts the seatbelt in an emergency. Simple operation.
Layered heat insulation — withstands sun exposure without damaging the dashboard
Innovative separate base design isolates heat on the outer layer. Resists both extreme cold and heat, solving the problem of older one-piece designs where the parking sign would overheat and damage the dashboard.
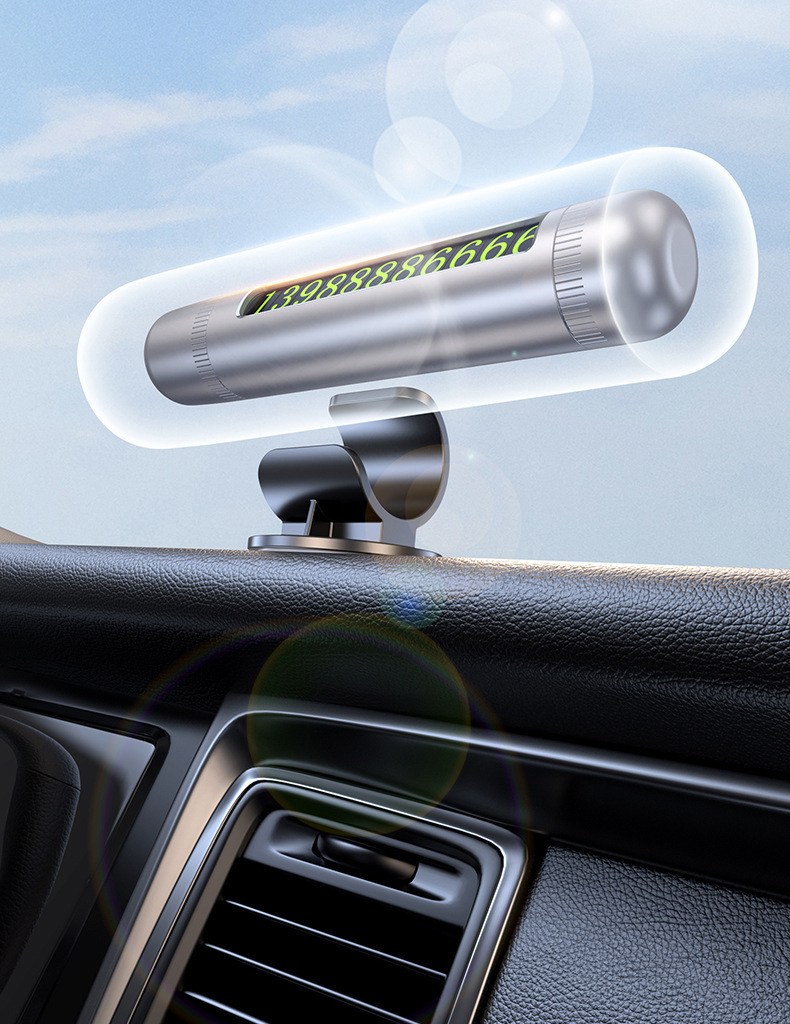
High-quality aviation-grade alloy — resistant to high and low temperatures, lasts up to ten years
All-alloy body with high-purity anodized sandblasted finish for a smooth feel and a premium, high-end appearance.
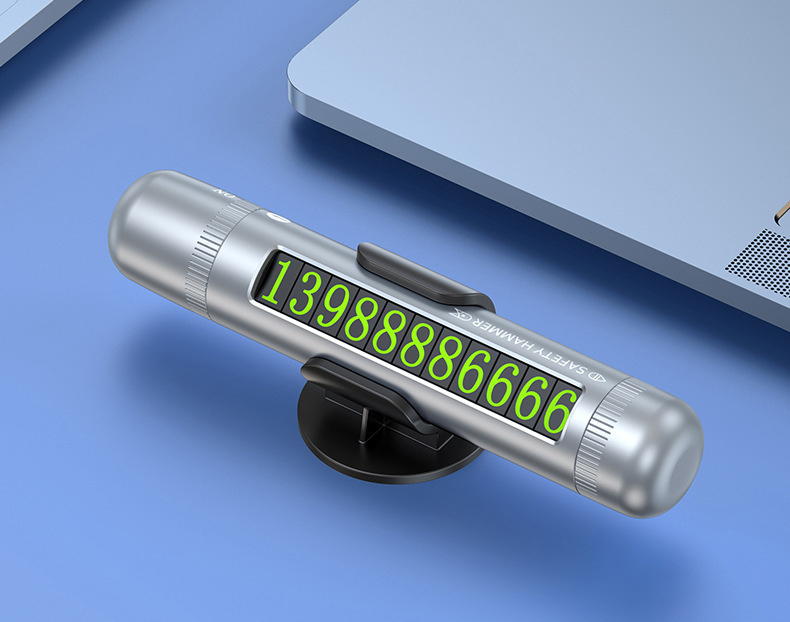
Multiple number stickers — freely combinable, strong magnetic adhesion, long-lasting durability
Includes 6 sets of "0-9" number stickers. Magnetic numbers are reusable and built to last.
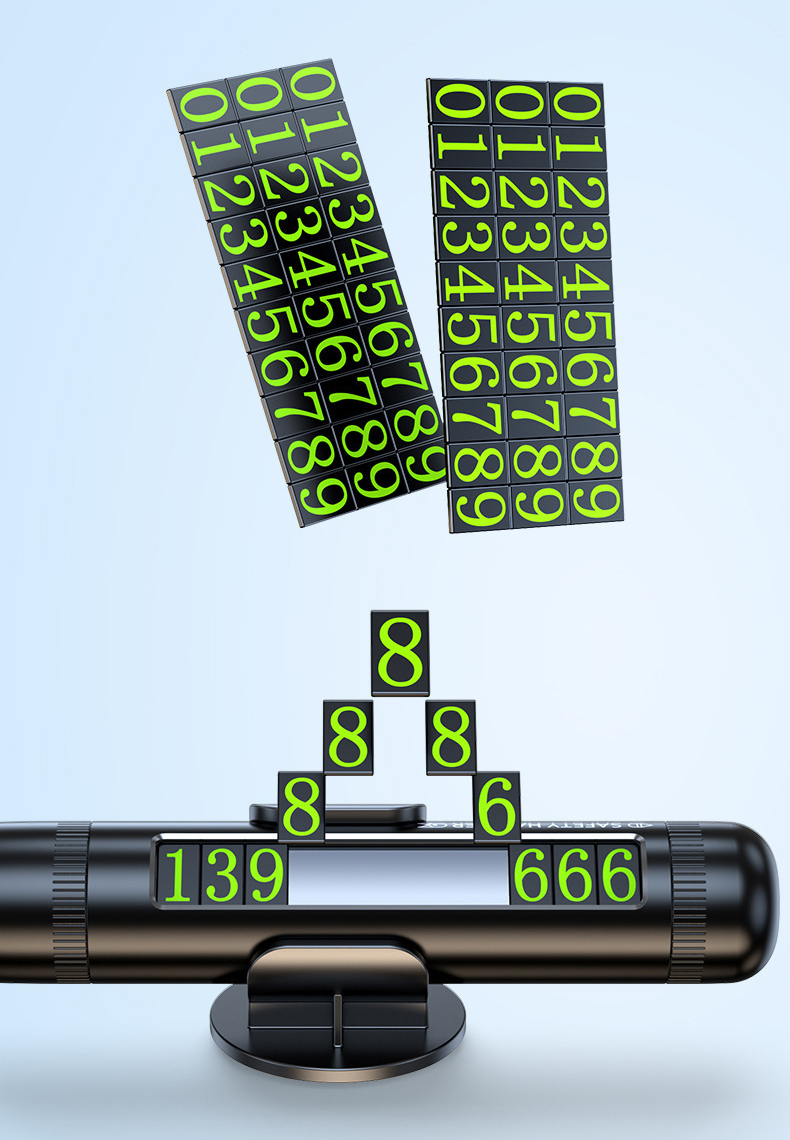
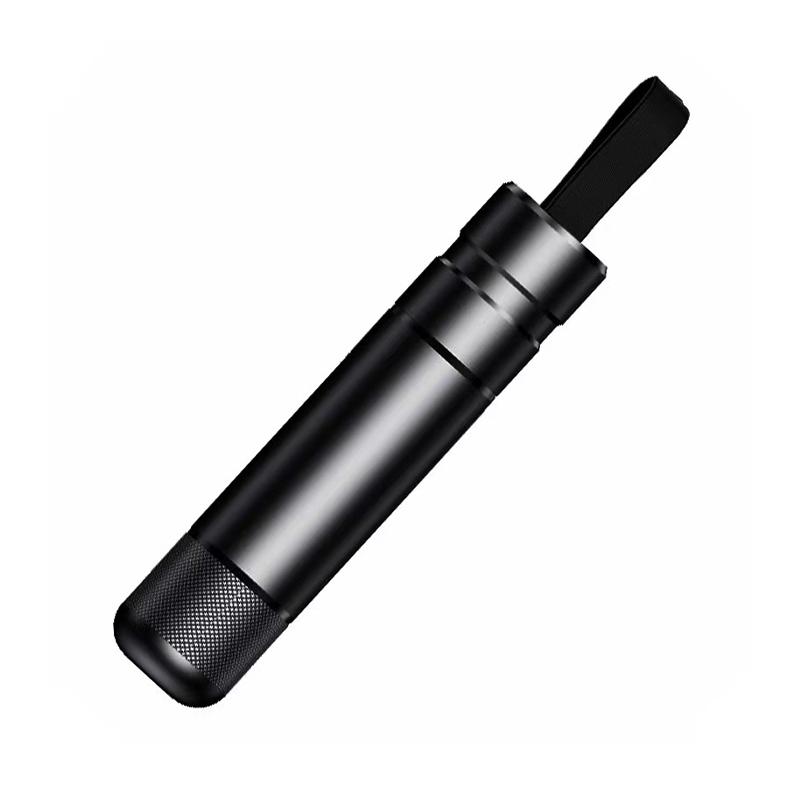
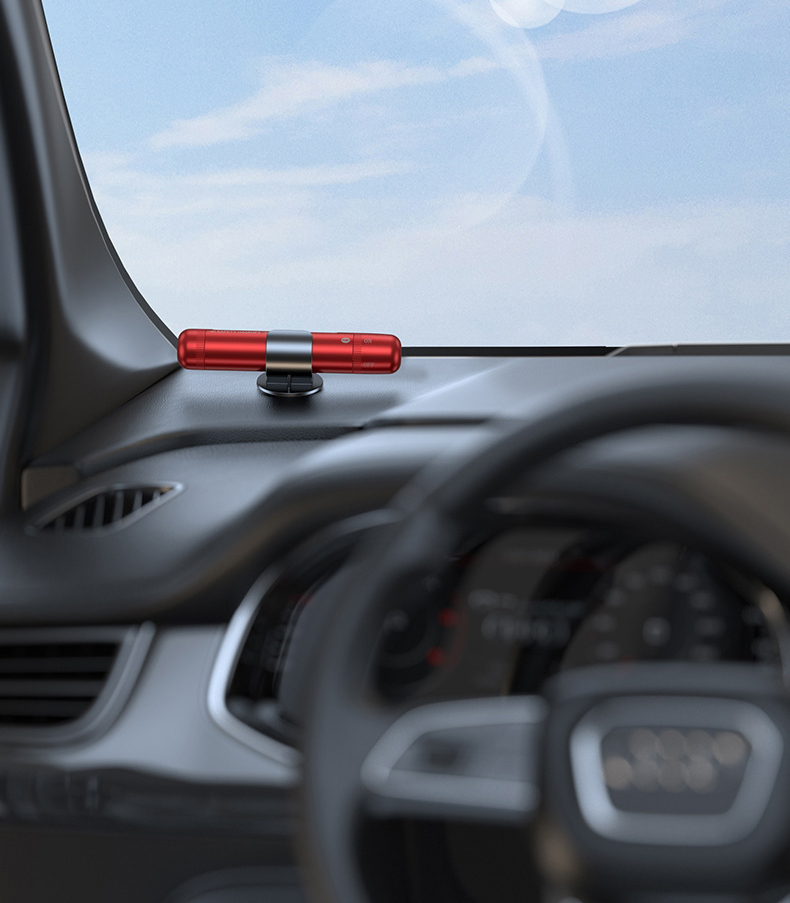
Mini and refined — compact size does not block your view
The small, elegant body can be placed anywhere on the dashboard. Suitable for all vehicle models. No compromise on any detail — enjoy a luxury car experience.
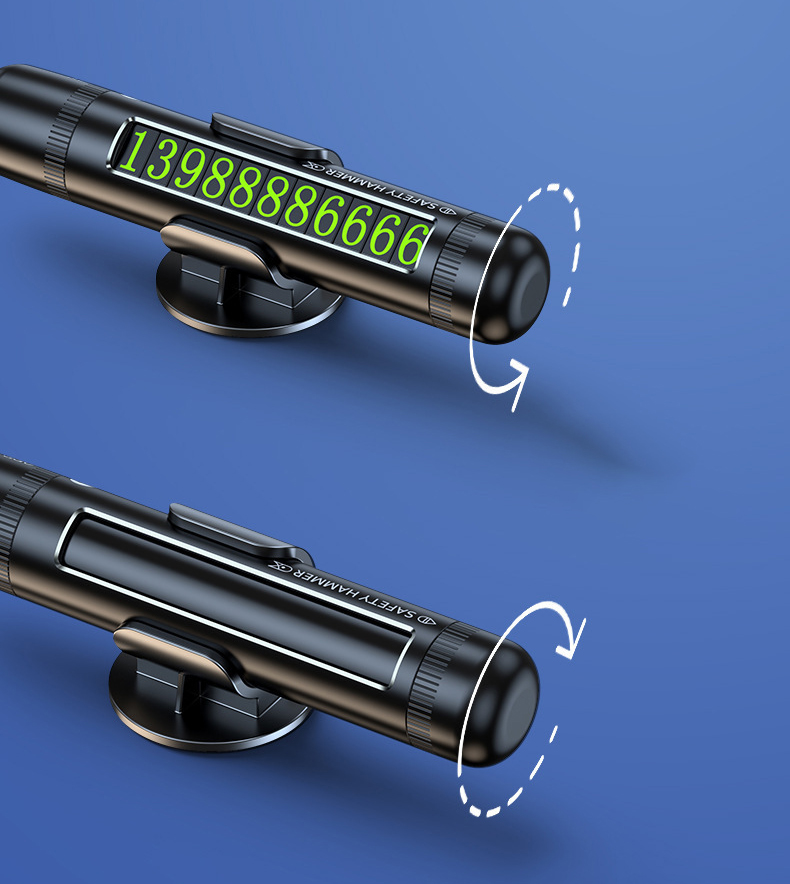
Rotate to hide — protect your privacy and avoid harassment
Features a rotating close design to hide the numbers. The base can also be separated and stored away in a drawer or cabinet.
Rotate to show — arrow points to "ON"
Rotate to hide — arrow points to "OFF"
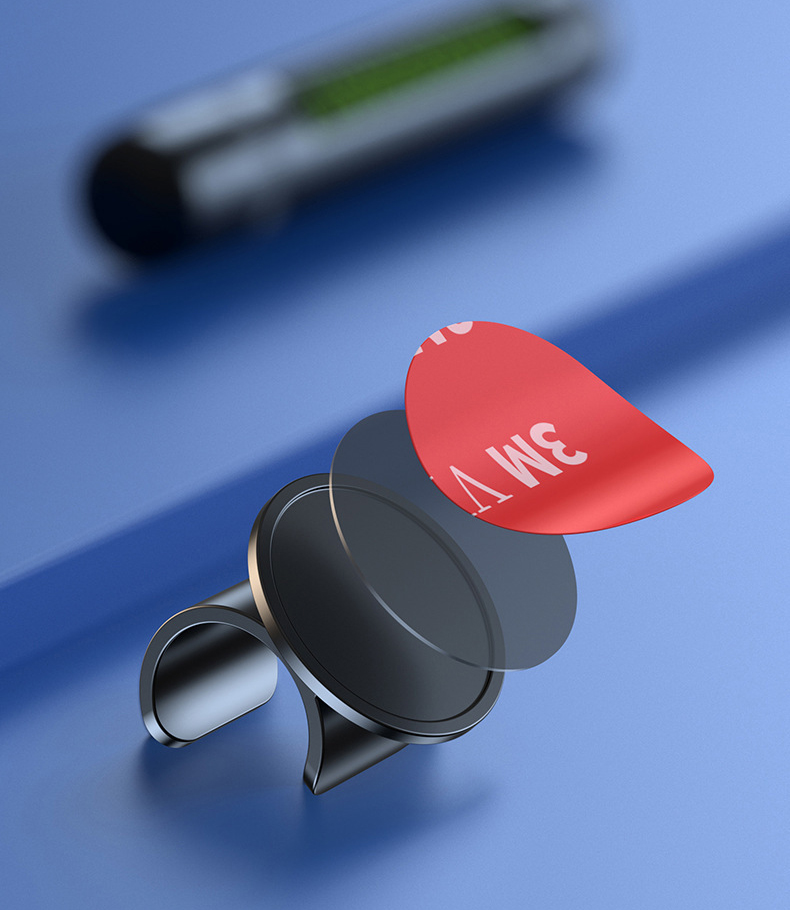
Car-specific 3M adhesive — residue-free mounting, firm and won't damage your car
The base uses car-specific 3M adhesive. It sticks firmly, won't fall off even on bumpy roads, and leaves no residue when removed.
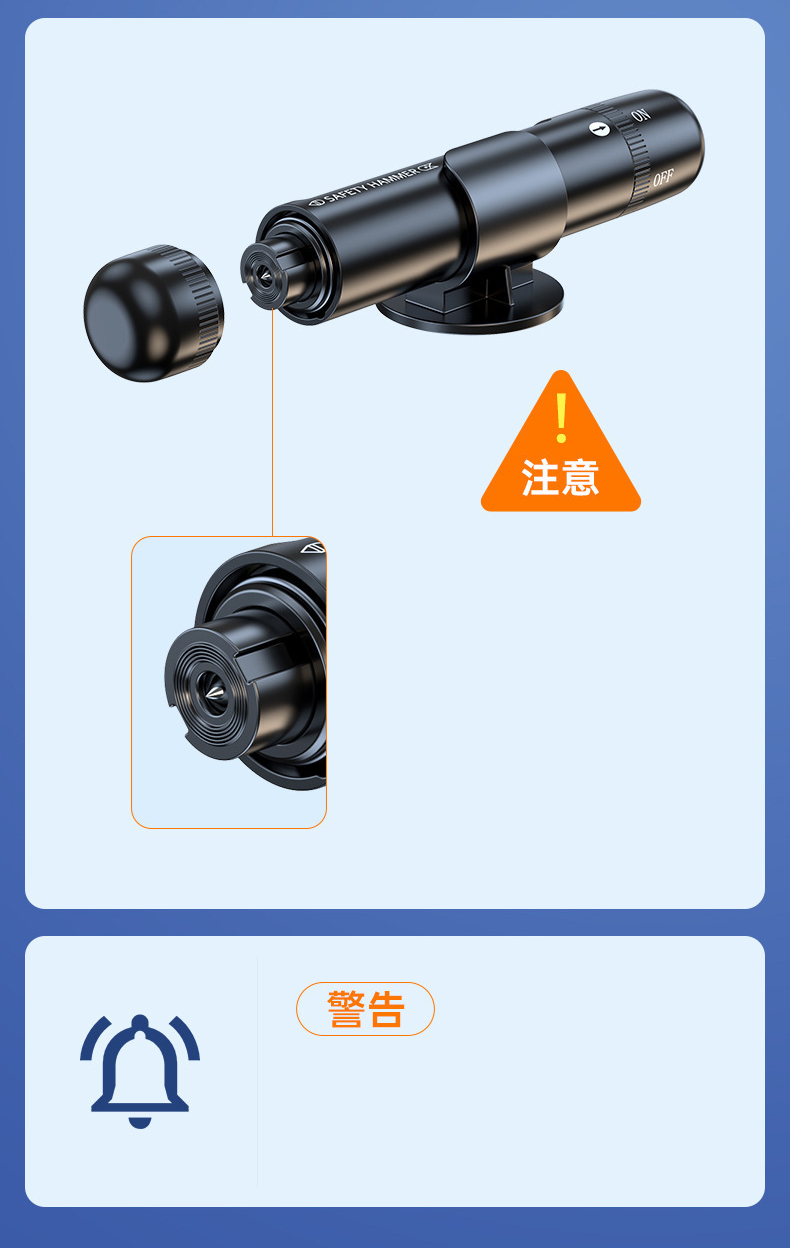
Safety Precautions:
Note: Do not touch the firing pin with your hands or any other part of your body to avoid injury.
Warning: The window breaker hammer is a life-saving tool. Illegal use is strictly prohibited. Do not misuse it. Do not allow children to play with it as a toy to avoid personal injury or property damage.
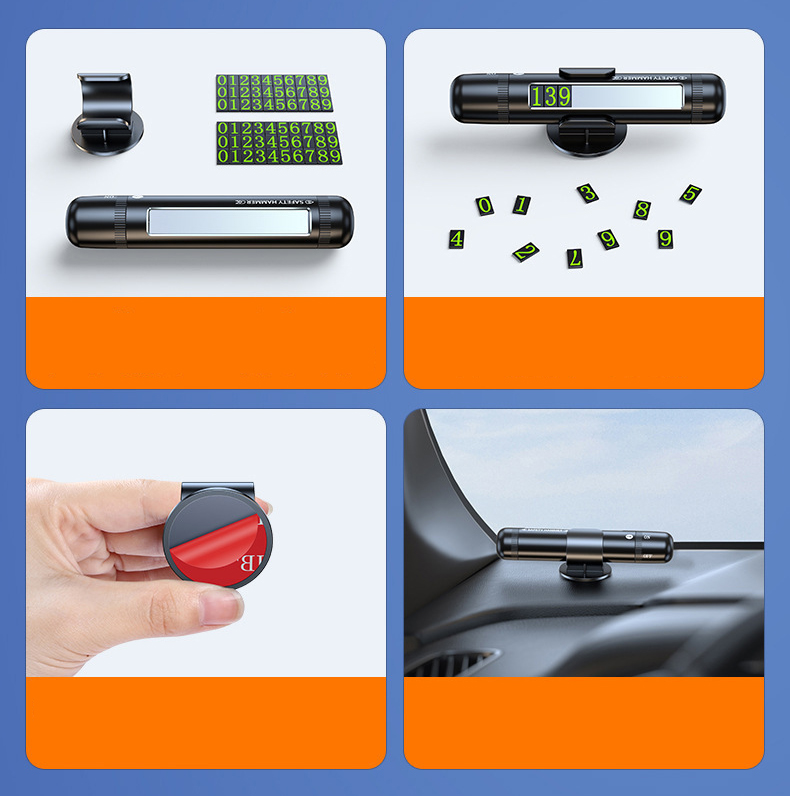
Installation and Instructions:
Step 1: Open the package and take out the parking sign safety hammer, number stickers, and base.
Step 2: Find the numbers you need and stick them onto the number plate.
Step 3: Peel off the protective film from the 3M adhesive on the base and stick it in your desired position.
Step 4: Place the parking sign onto the base with the numbers facing outward. Installation is complete.
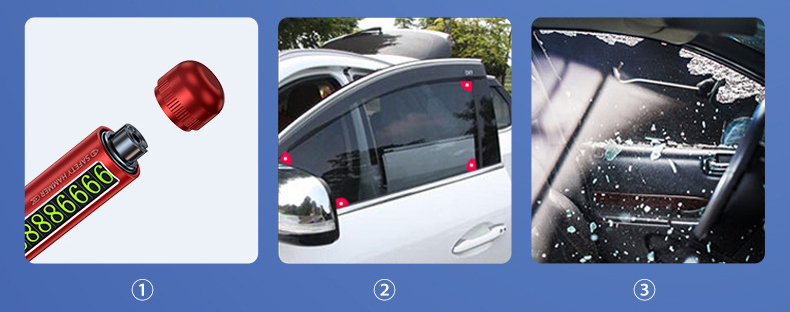
Safety Hammer Instructions:
Remove the cover.
Gently press against the four corners of the side window.
Clear away the glass fragments and escape.
(Note: The windshield is made of shatter-resistant glass. Do not strike it.)
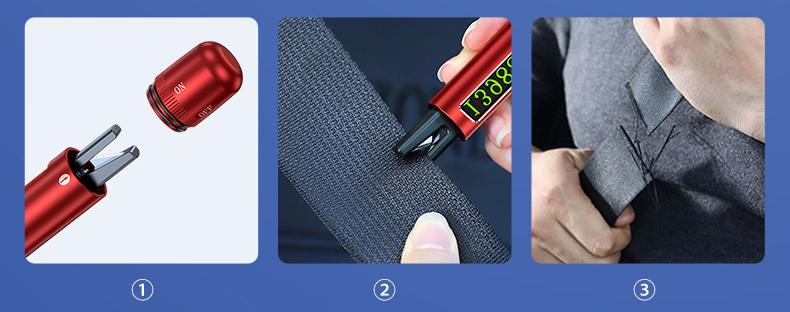
Safety Cutter Instructions:
Remove the cover.
Align the notch with the edge of the seatbelt and push forward.
Cut through the seatbelt.
FAQs
Q1: What are the main product categories you provide?
Q2: What is the minimum order quantity (MOQ)?
Q3: Can products be customized?
Q4: How is product quality guaranteed?
Q5: What costs are included in the price?
Q6: What payment methods do you accept?