Industrial Safety Equipment & MRO Supplies | Shanghai Fangxi Industries Group


Products
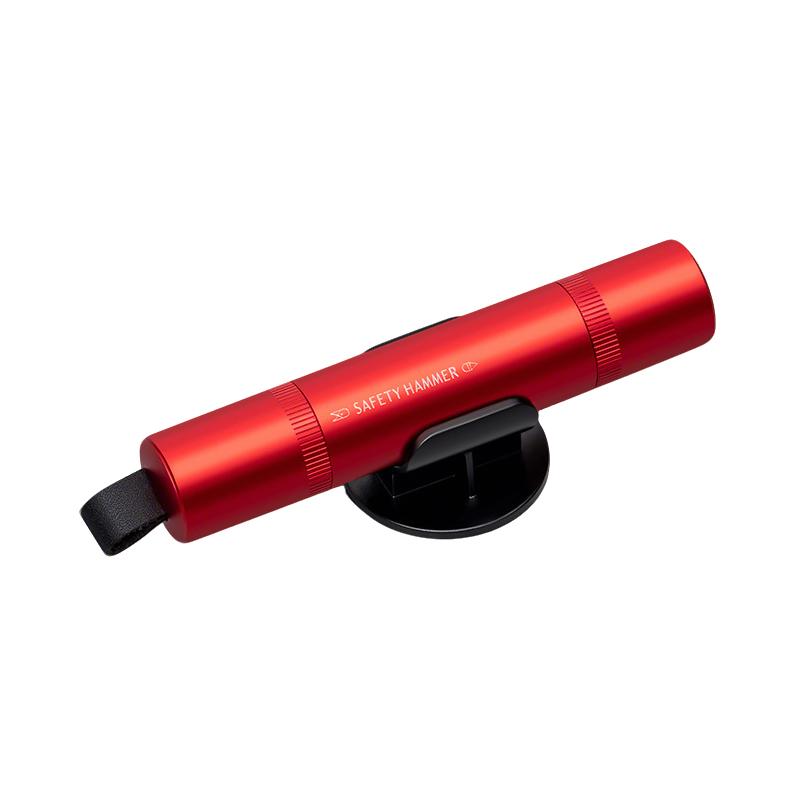
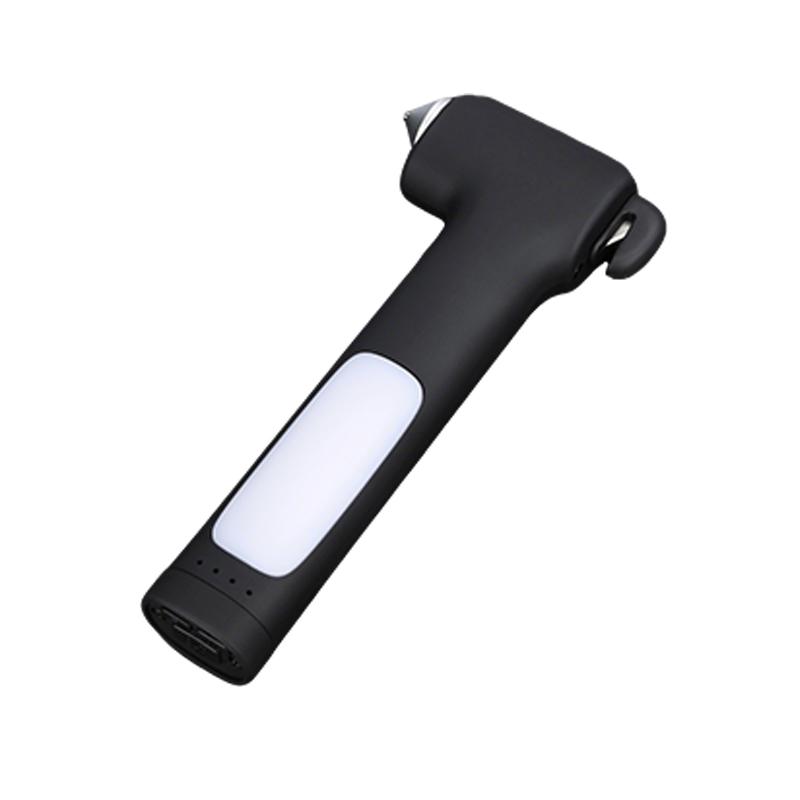
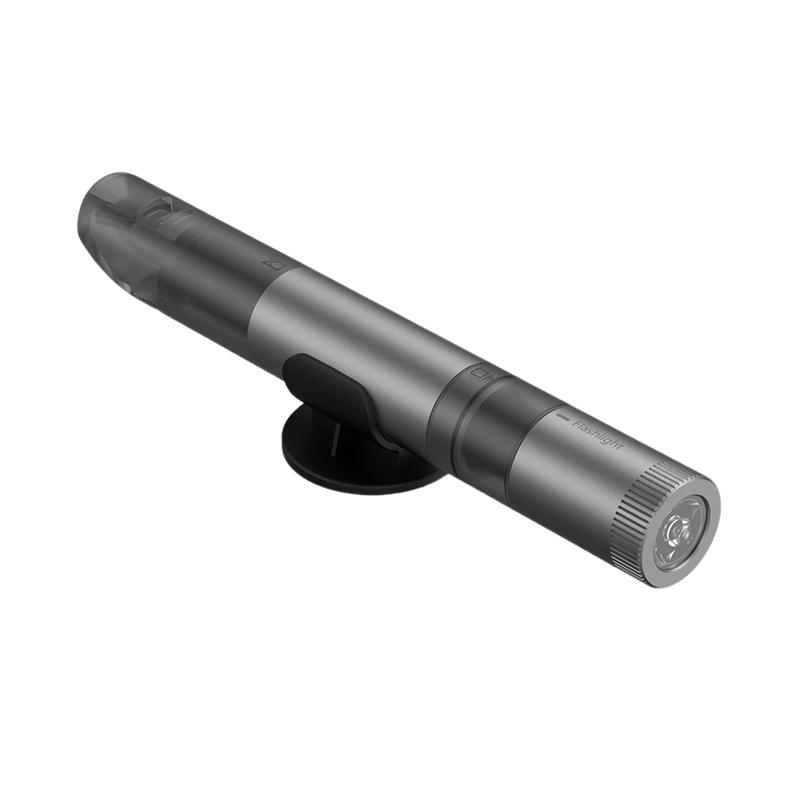
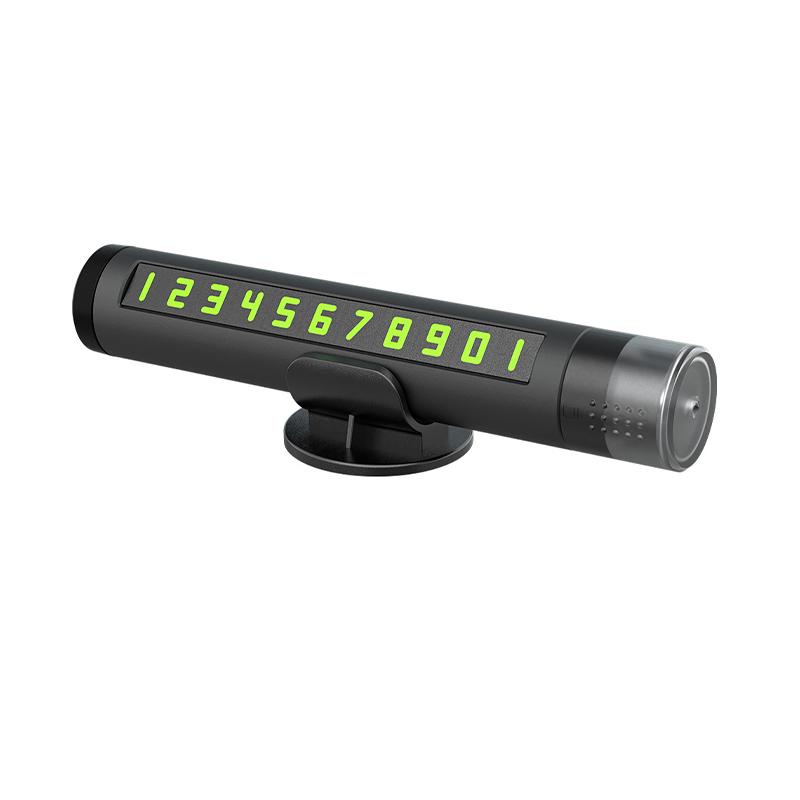
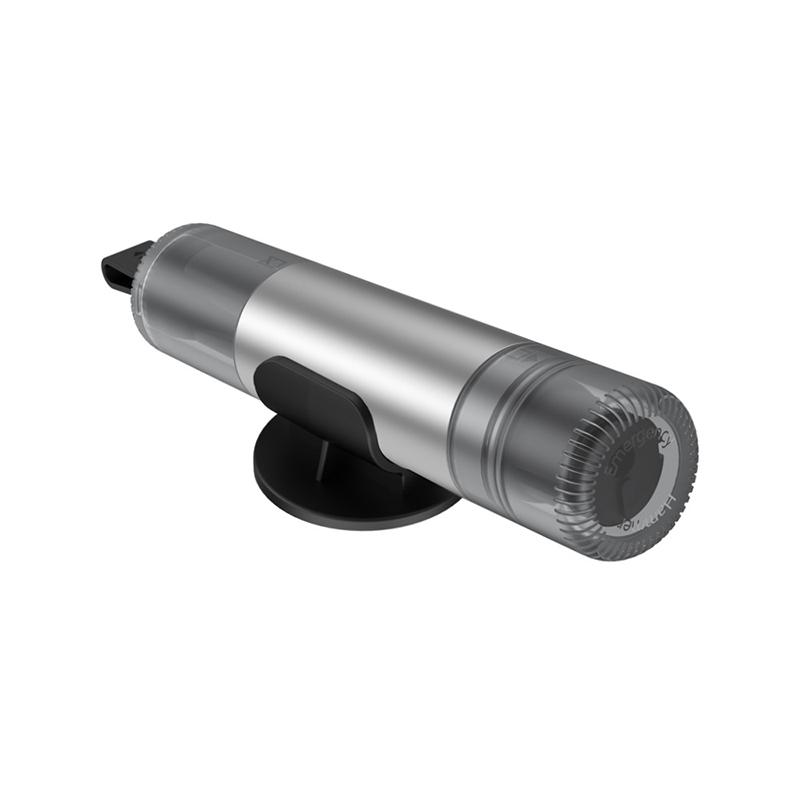
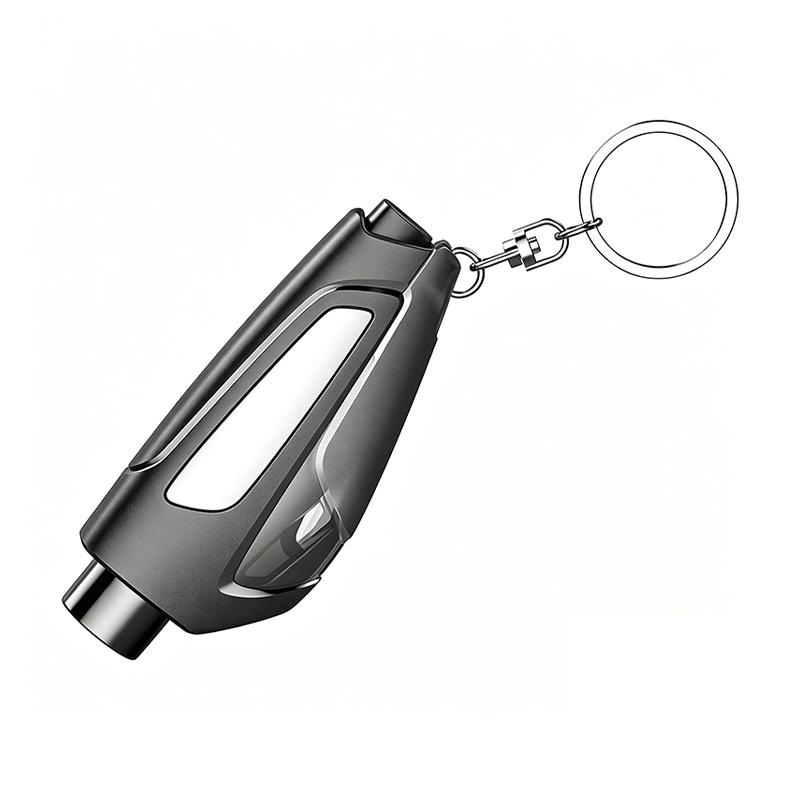
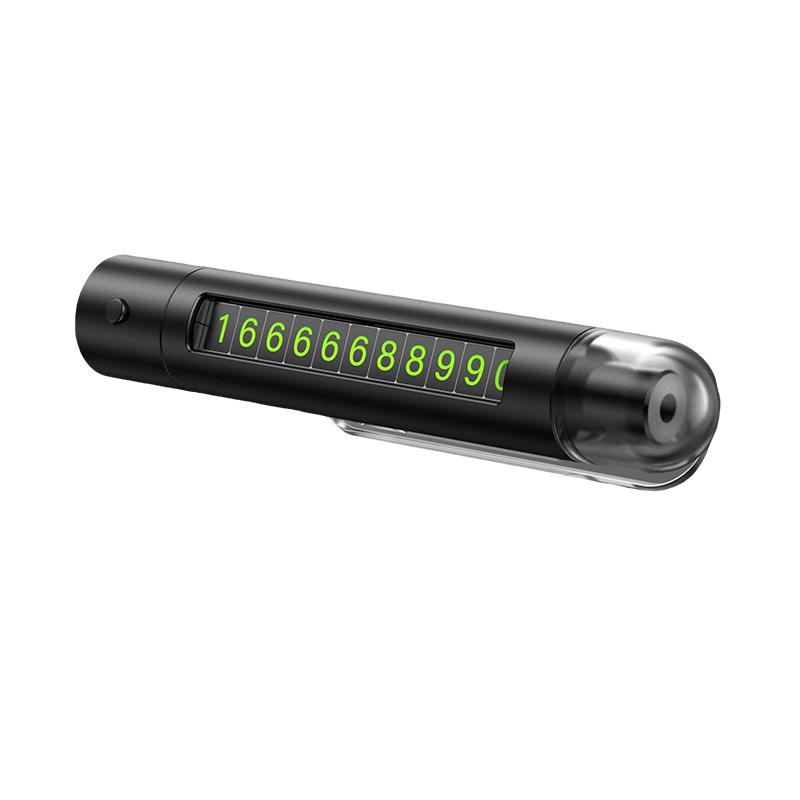
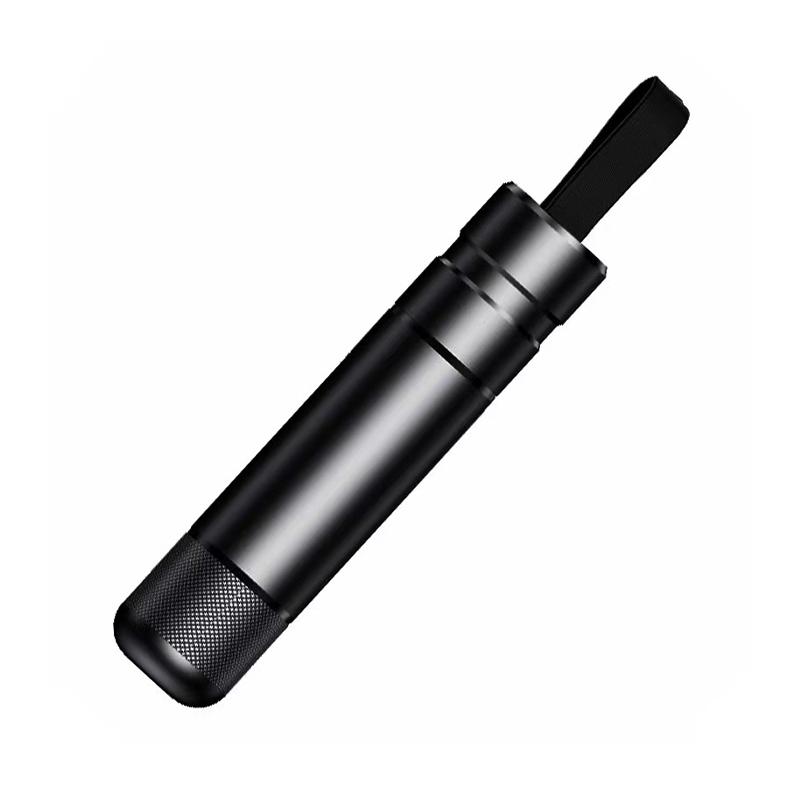
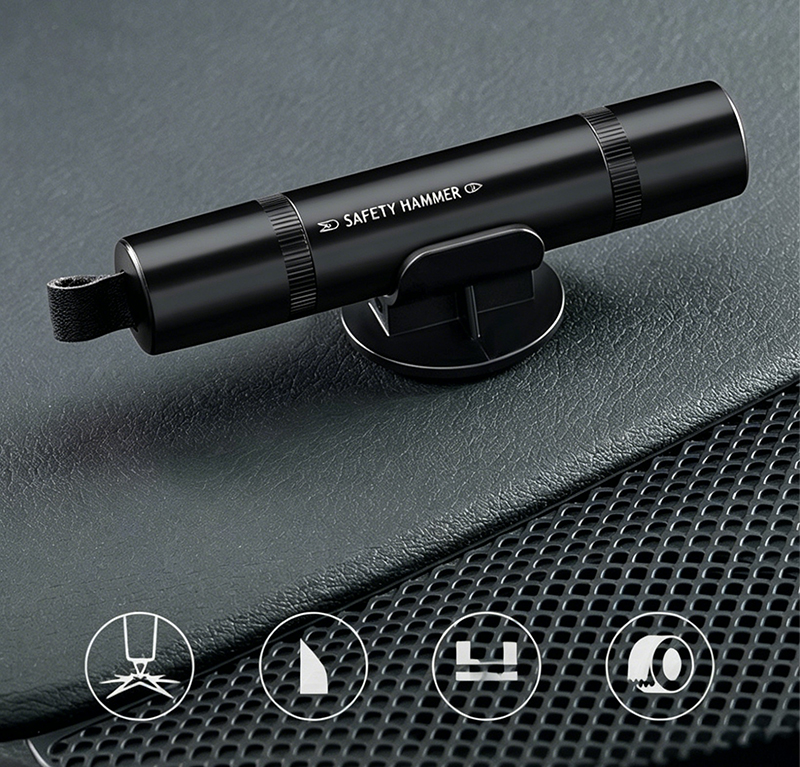
Window BreakerCar Window Breaker with Seatbelt Cutter, Gun-Type Spring-Powered Hammer, Tungsten Steel Head Rockwell 65, Hidden Anti-Cut Cutter, Adhesive Base, Alloy Body
Product Code: 01173
Description
Self-rescue emergency car window breaker
Window breaker hammer + Seatbelt cutter
Quick window breaking
Sharp cutter
Anti-cut design
Adhesive base
Which comes first, tomorrow or an accident?
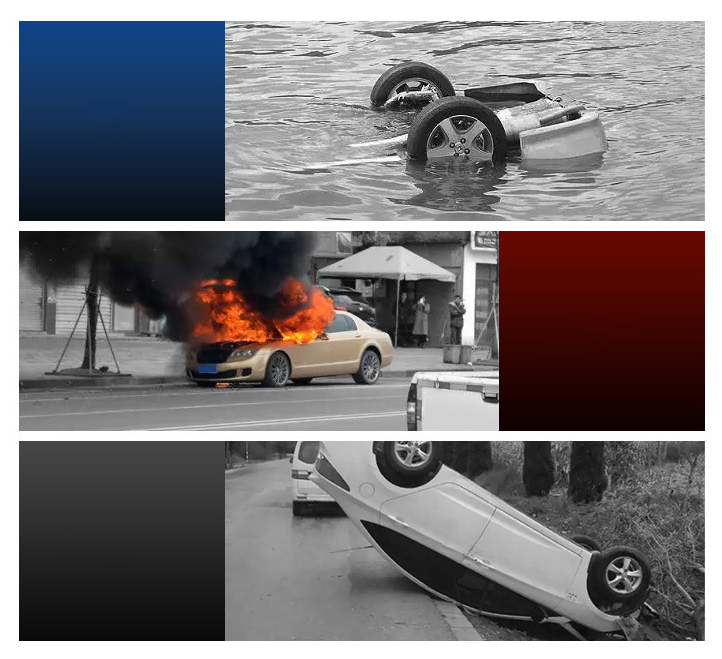
Accidental drowning in a vehicle, fire, rollover — when doors and windows cannot be opened, tragedy can occur.
Car submerged in water
Car fire
Car accident
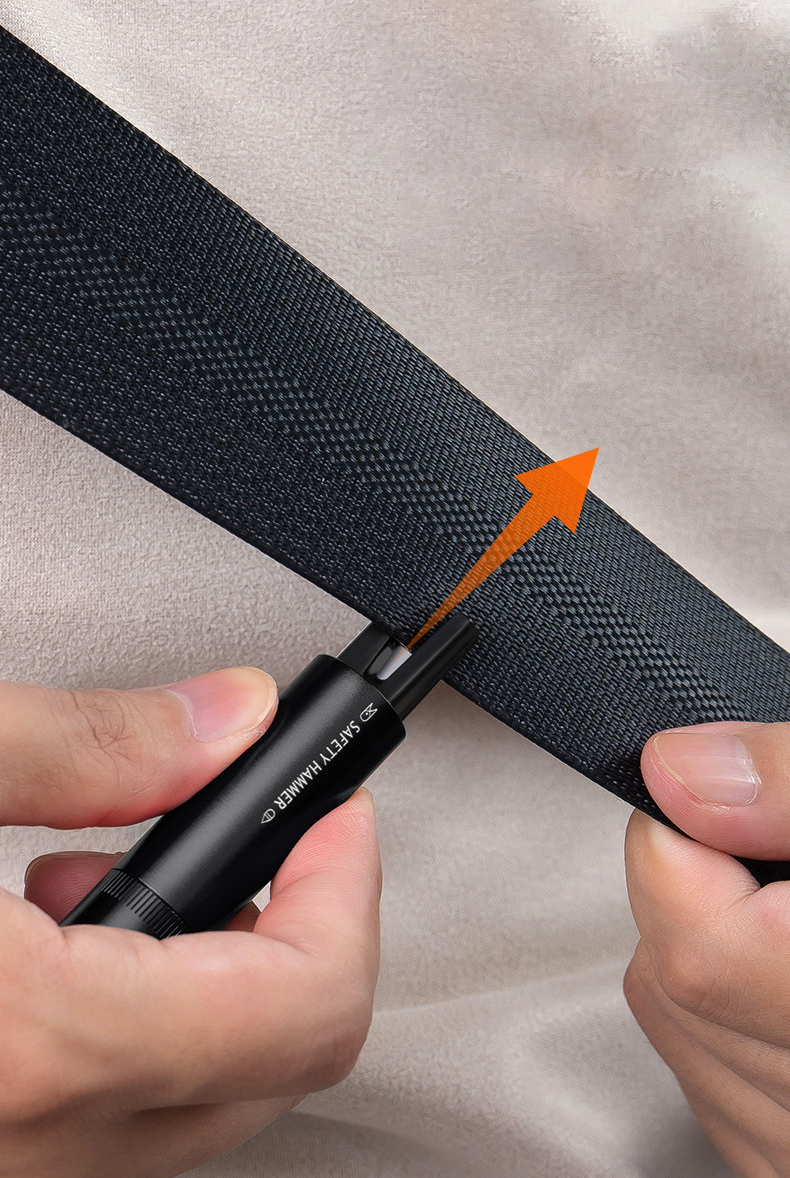
One push to cut — escape without obstacles
Built-in stainless steel cutter can quickly cut the seatbelt in an emergency.
Gun-type spring-powered window breaking — reusable
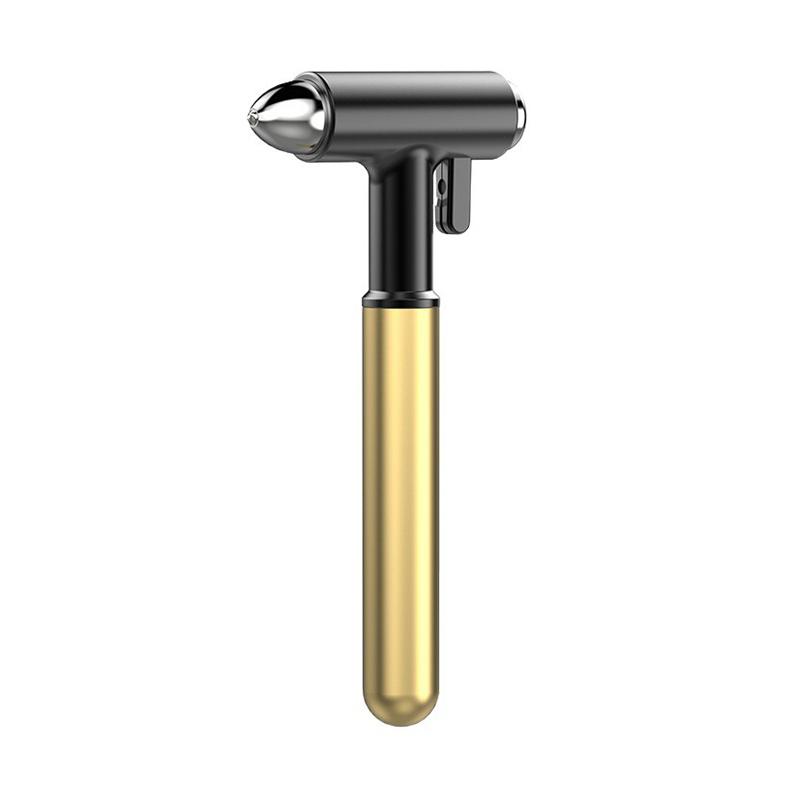
Built-in reset gun-type spring mechanism. Aim at the glass and press the hammer head — it automatically strikes and shatters the glass.
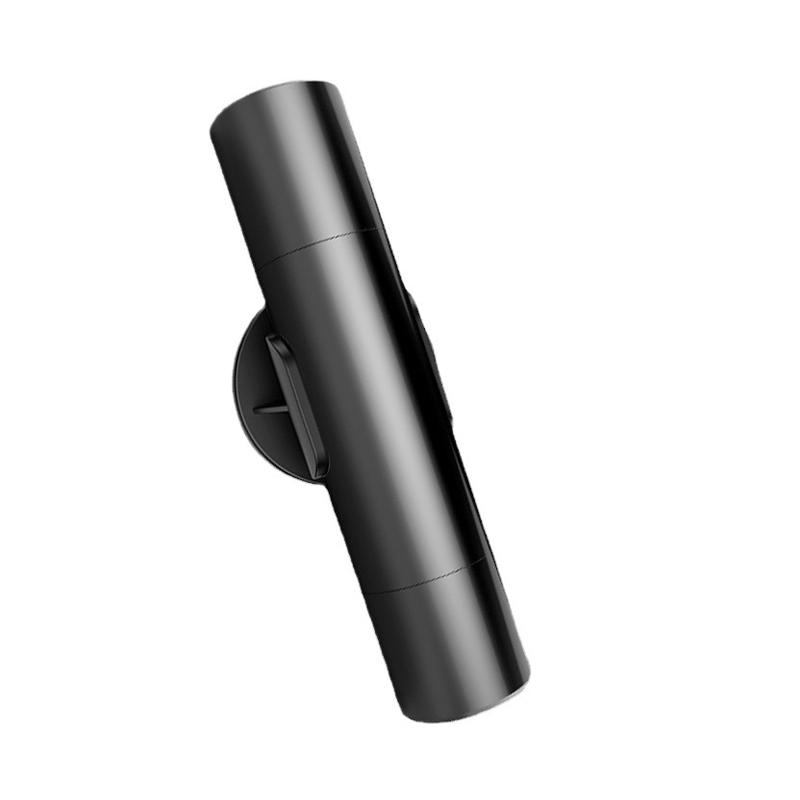
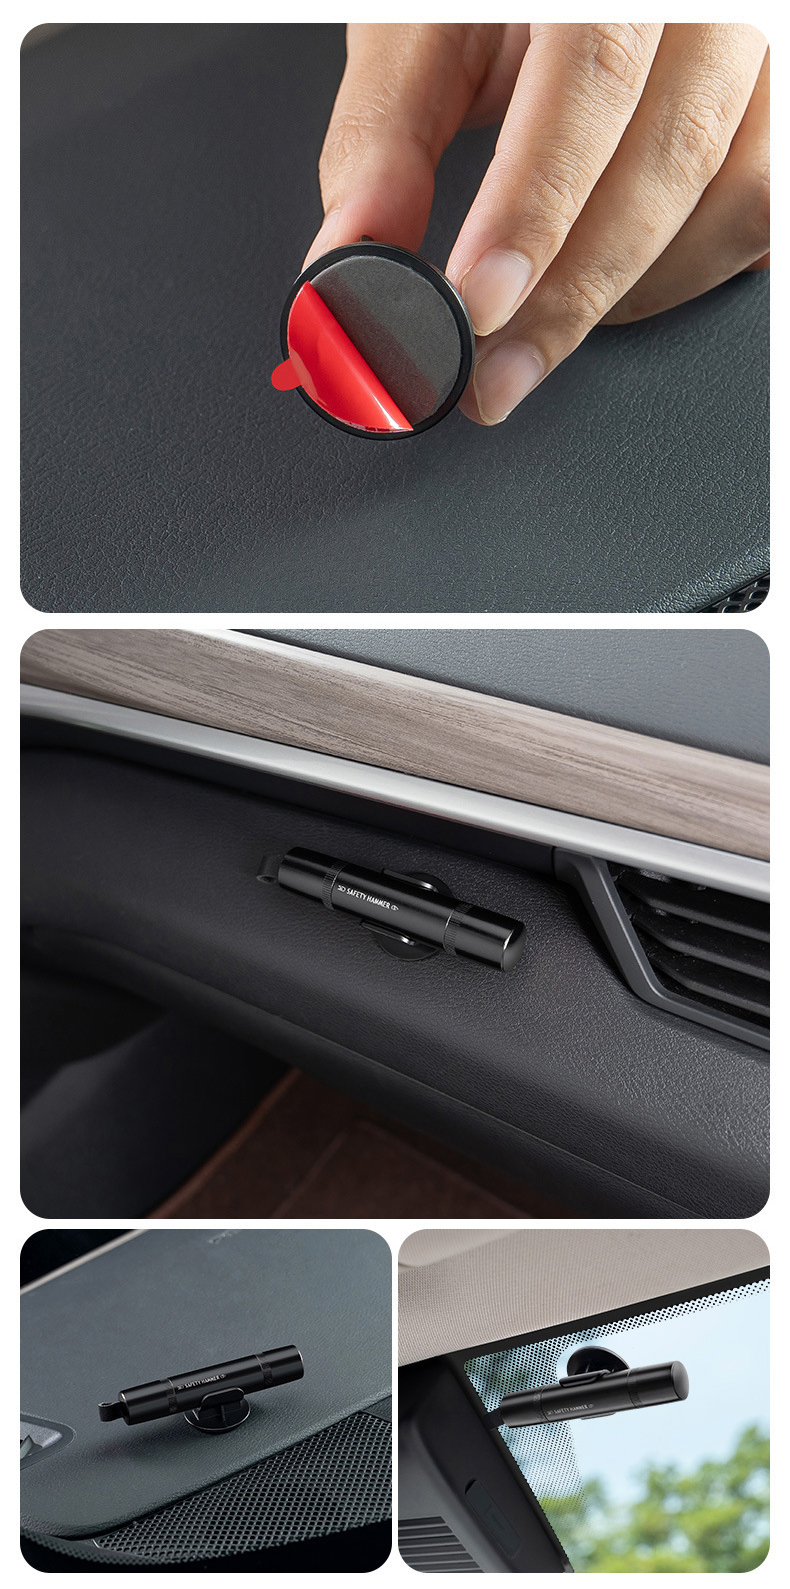
Adhesive backing installation — can be mounted in multiple locations
Stick-on storage base — no residue, won't damage your car
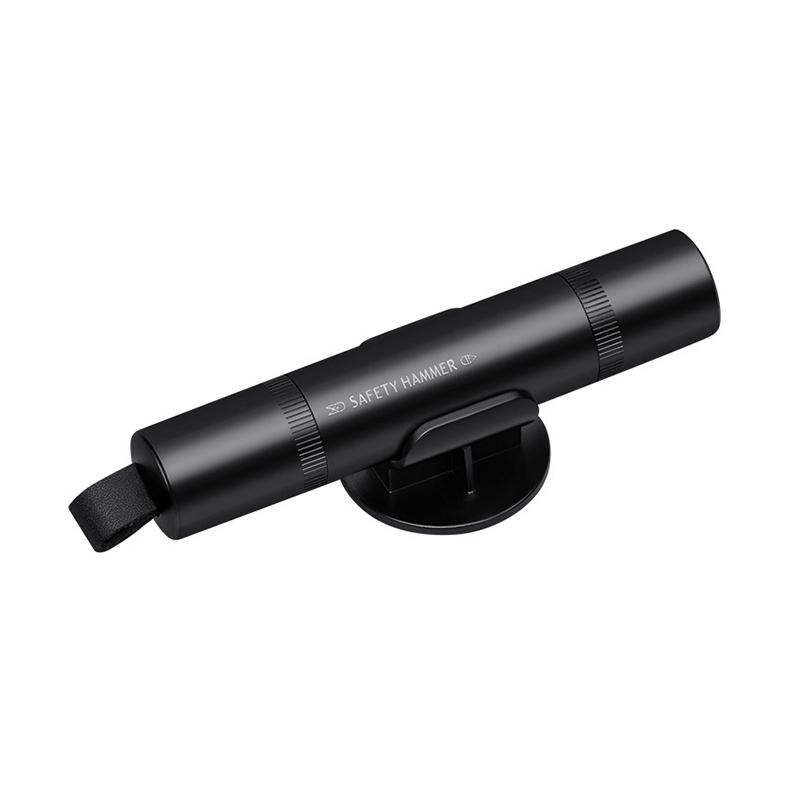
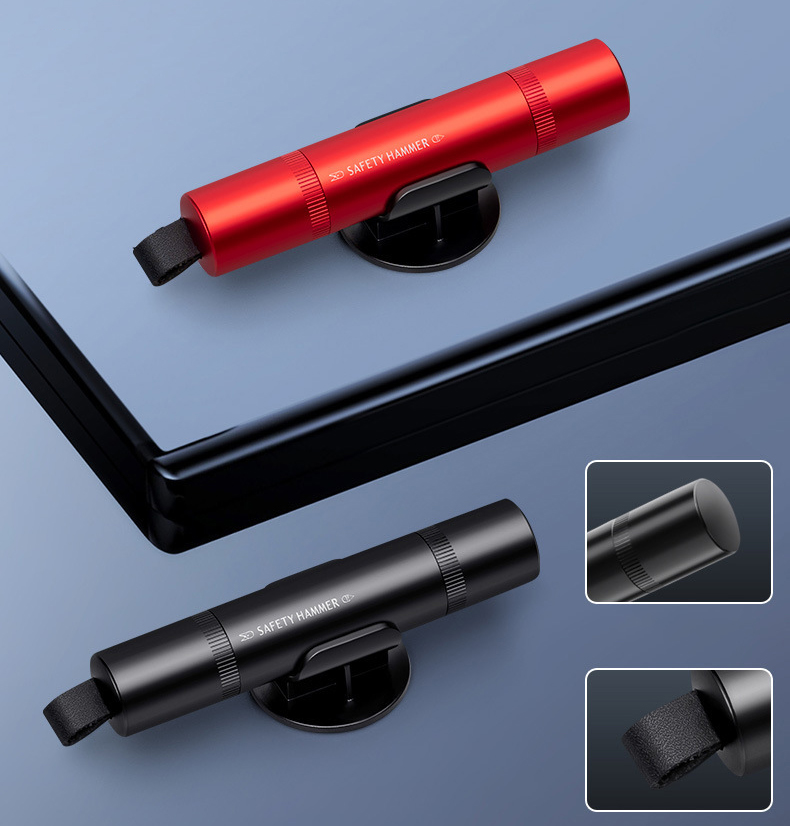
Alloy material — two colors available
Seatbelt cutter & window breaker hammer
Double-head design with cover
Portable belt clip
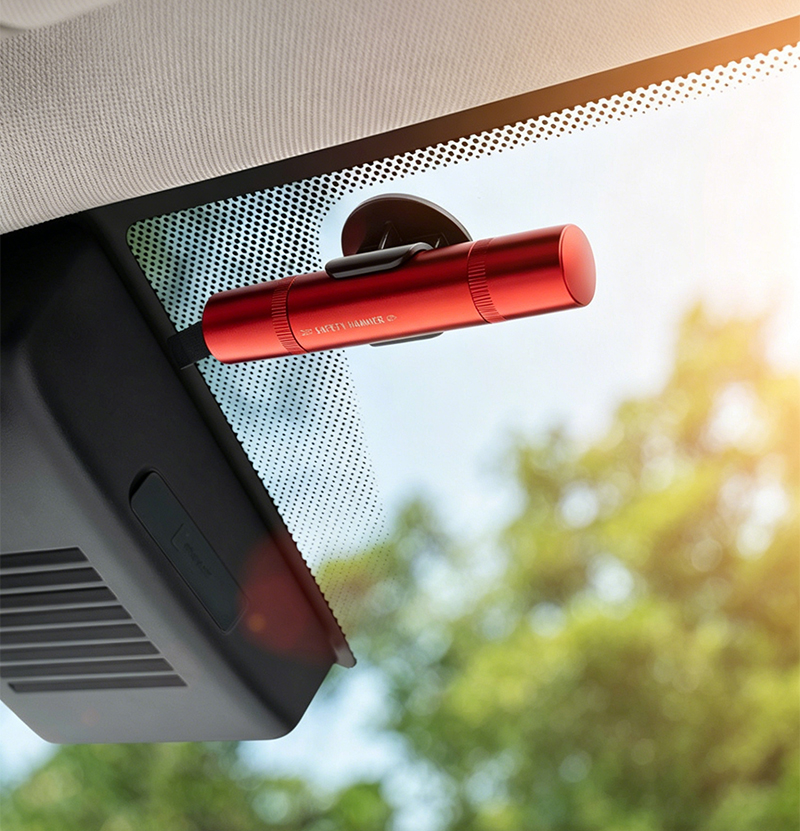
Withstands sun exposure — long-lasting and durable
Alloy material resists high and low temperatures without deformation
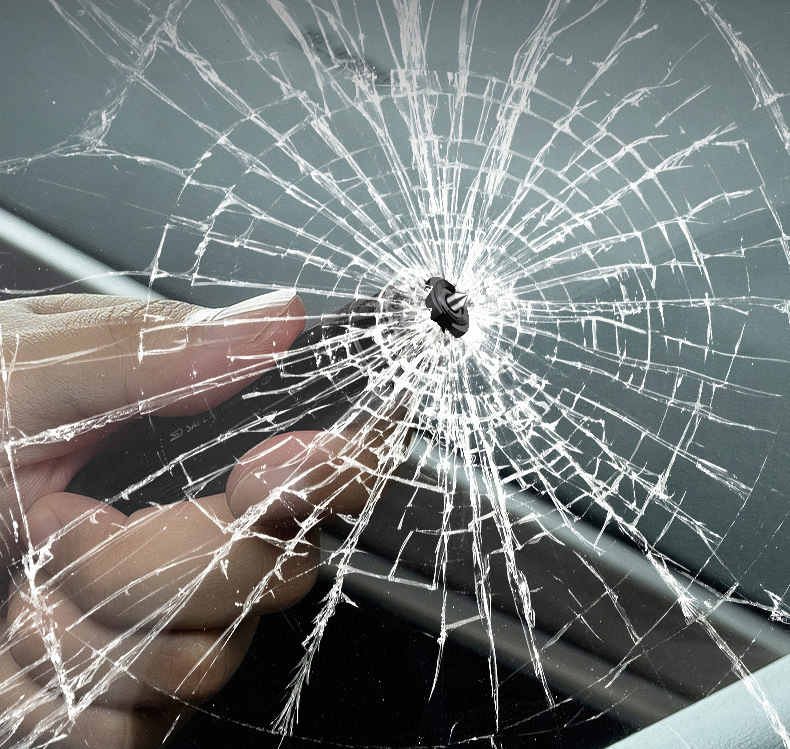
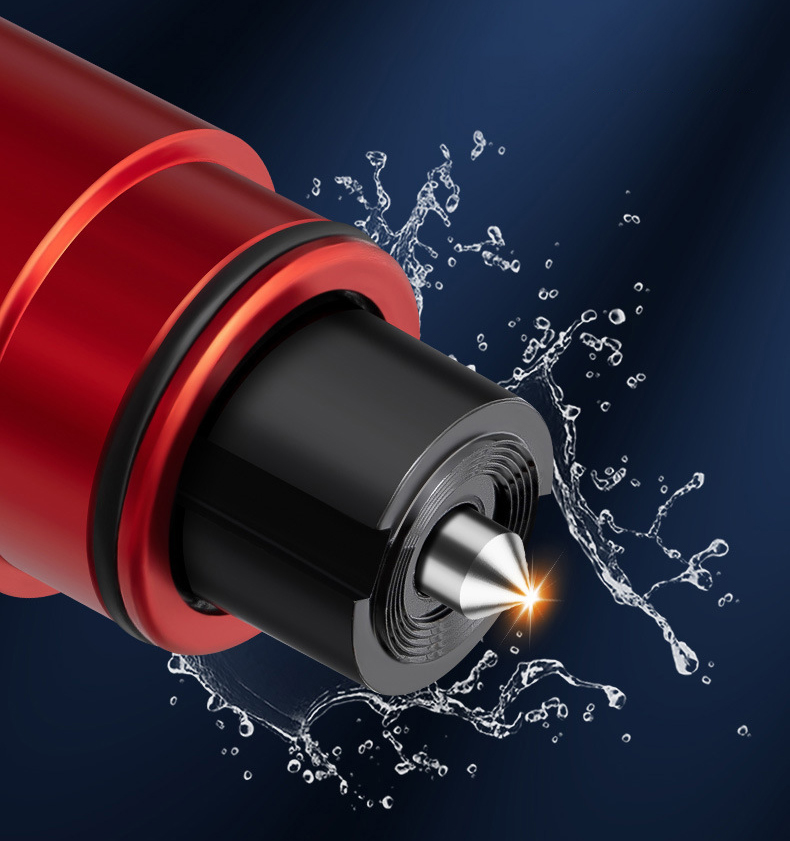
Tungsten steel hammer head — unbreakable
Tungsten steel achieves a Rockwell hardness of 65, withstands water pressure, and easily shatters glass.
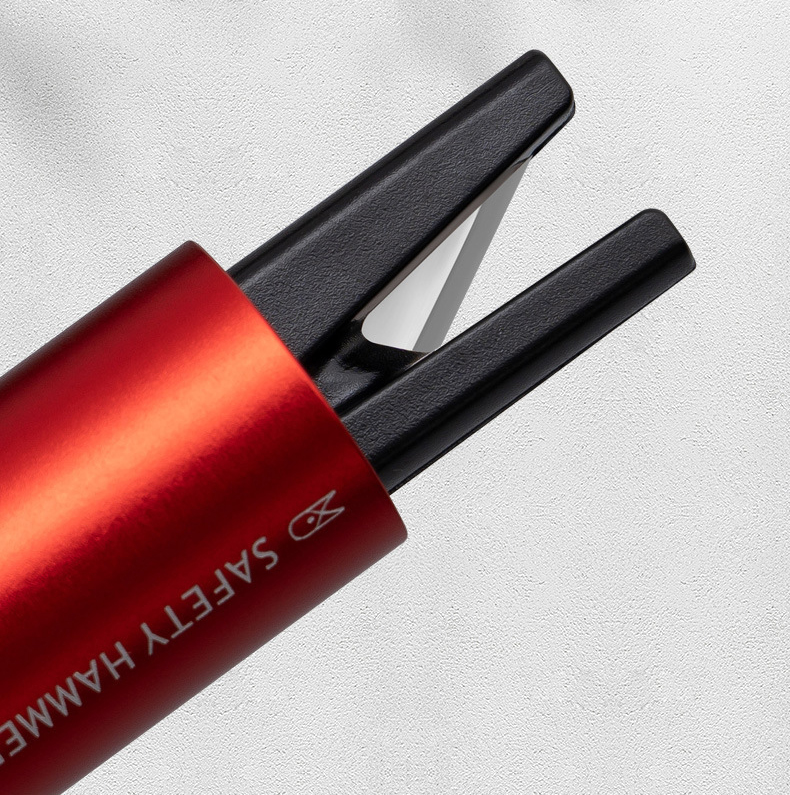
Hidden cutter — won't cut your hands
U-shaped opening — fingers cannot reach inside, no risk of accidental cuts.
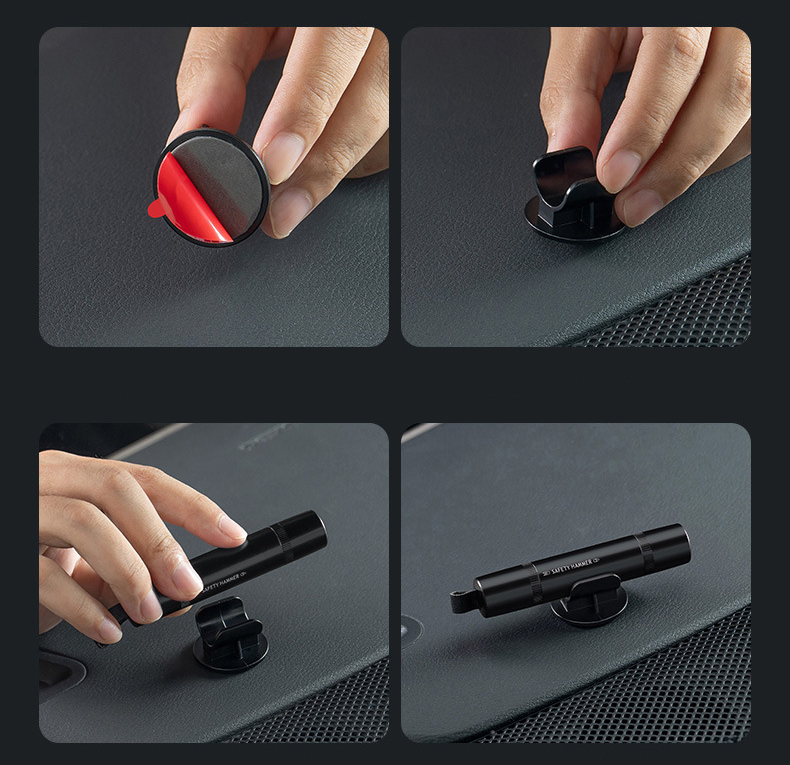
Easy installation — understand at a glance
Peel off the release film from the base adhesive.
Stick the base in a suitable position.
Clip the main unit into the base.
Installation complete — easy to remove and use.
FAQs
Q1: What are the main product categories you provide?
Q2: What is the minimum order quantity (MOQ)?
Q3: Can products be customized?
Q4: How is product quality guaranteed?
Q5: What costs are included in the price?
Q6: What payment methods do you accept?